Completely Taking apart the doser!
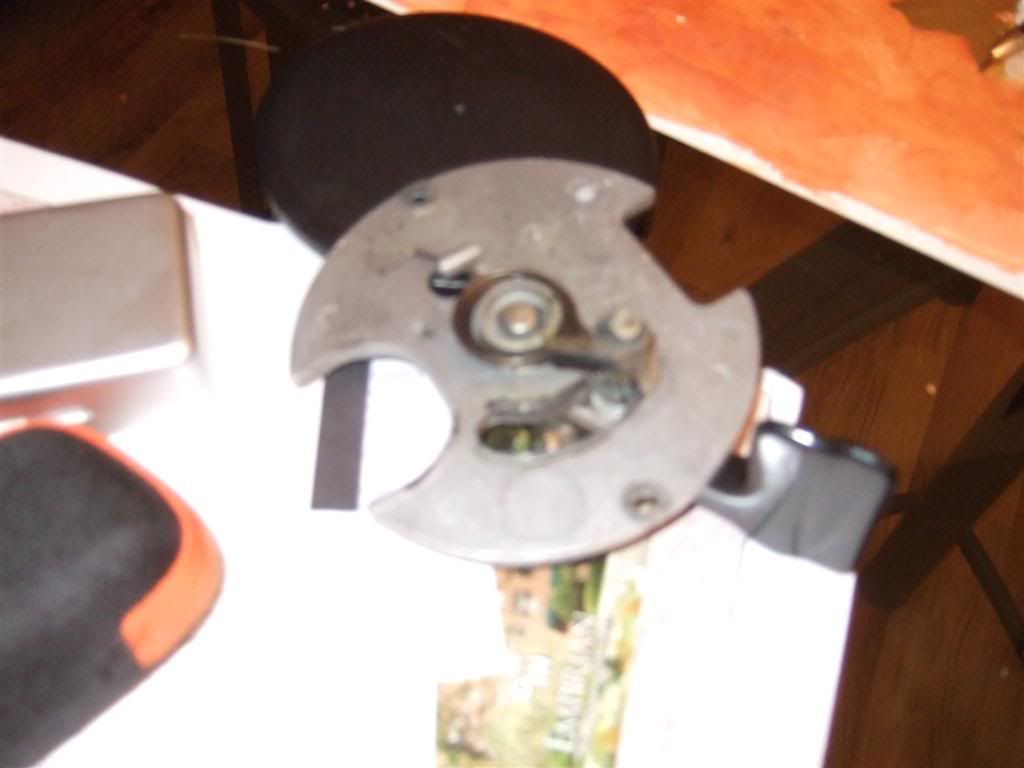
This assumes you have removed the doser from the grinder already. If not back to Step 2 you go! There are two allen key screws under the doser. Remove them:
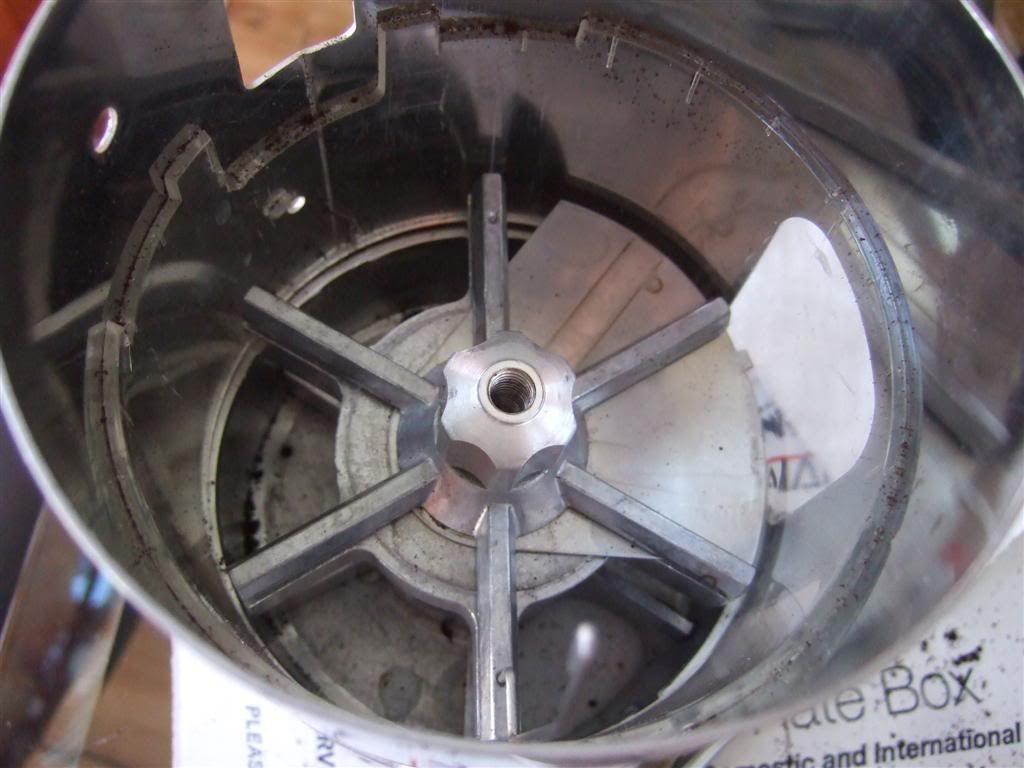
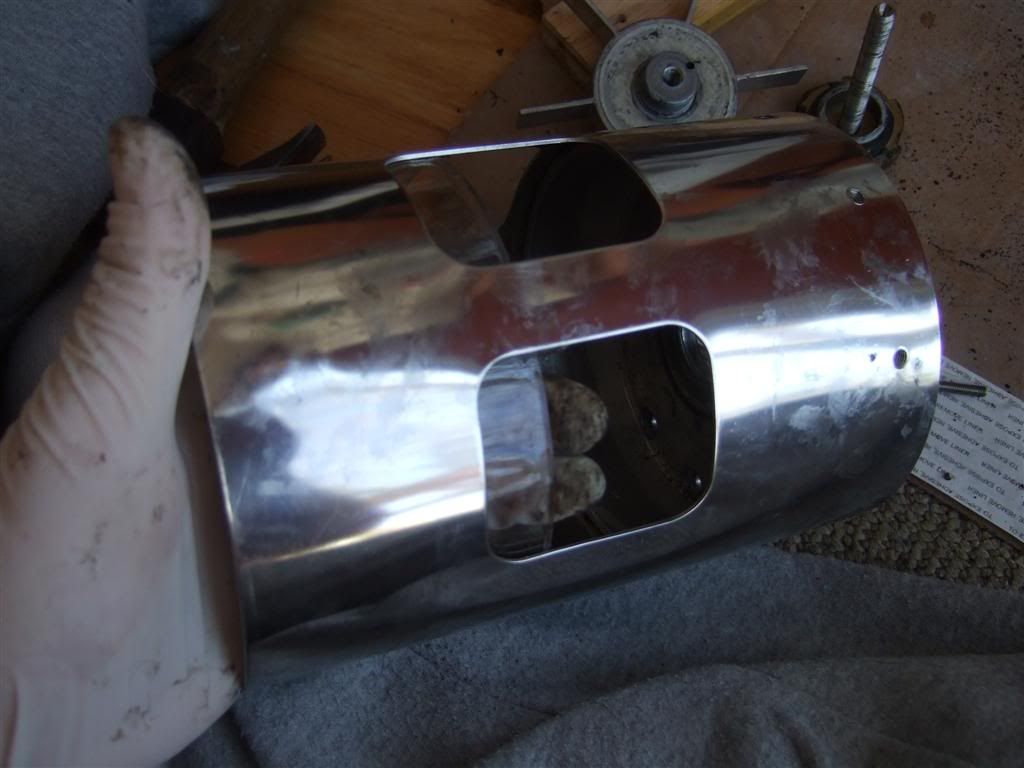
This will expose the innards as this plate comes off:
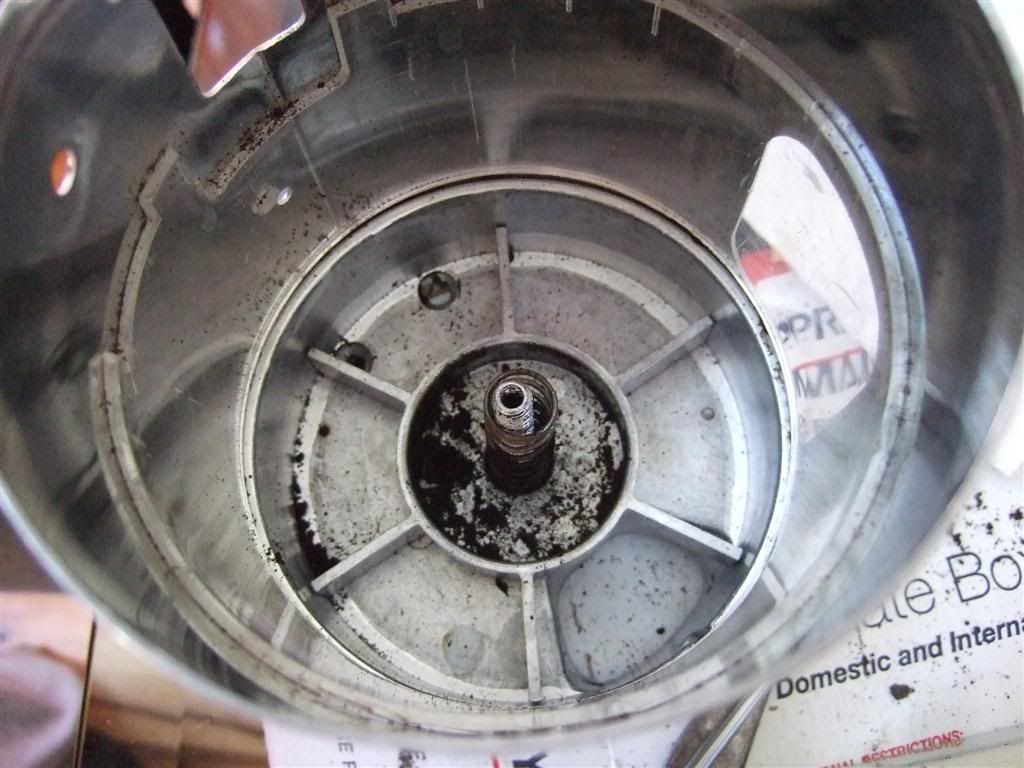
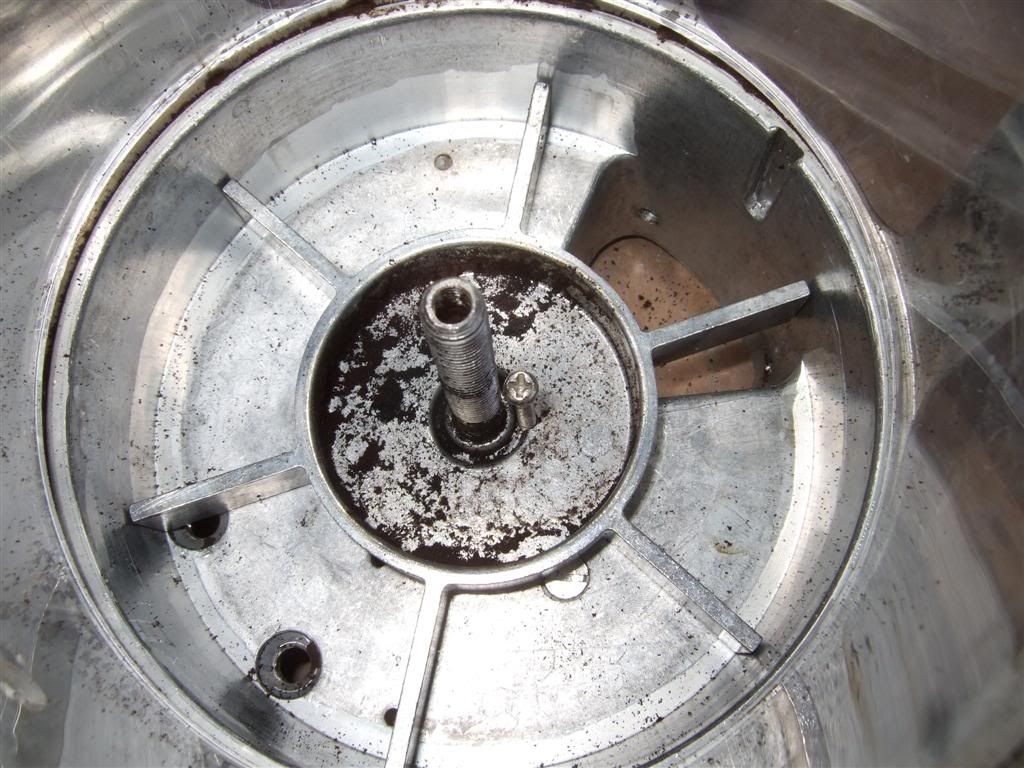
On the inside of the doser, unscrew the star shaped nut. This will take many turns and you have to hold the "sweeper" from rotating:
Next flip it over and remove the nut holding the smaller silver gear:
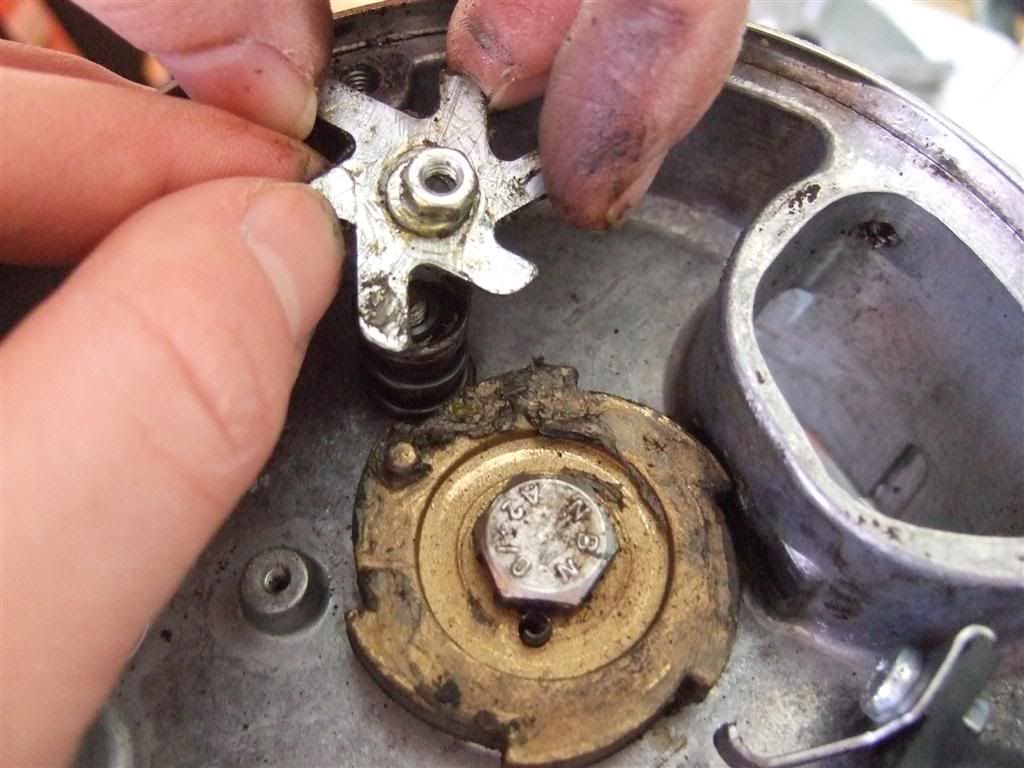
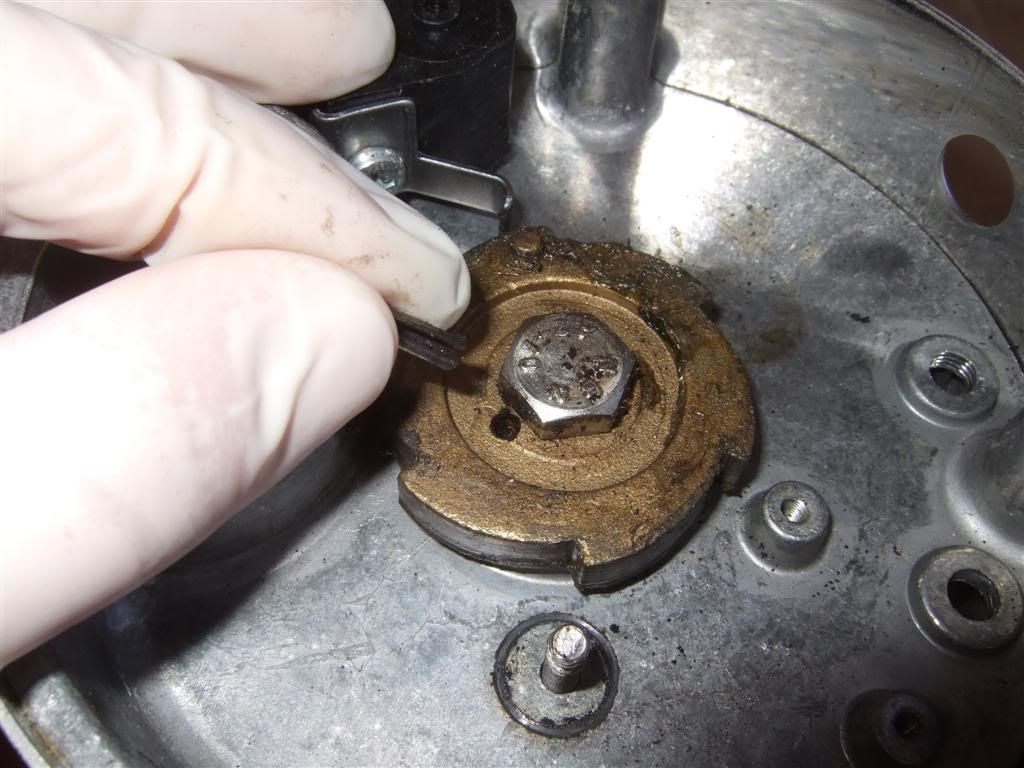
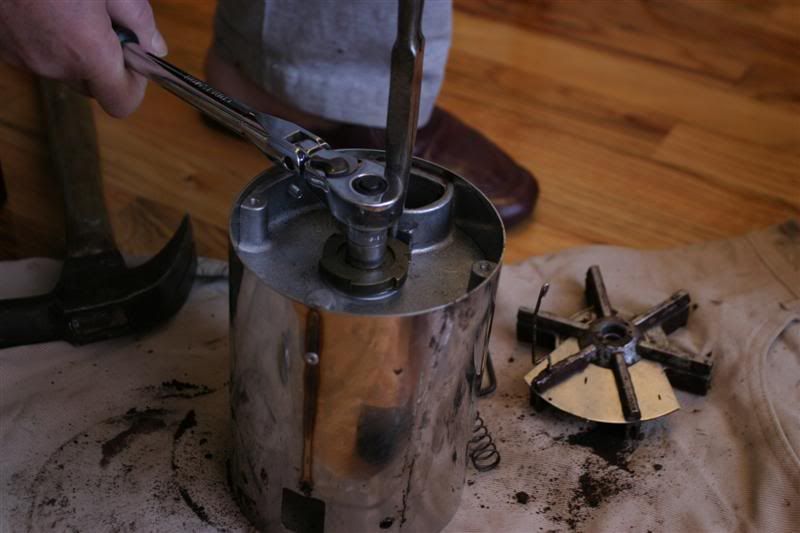
On the golden gear you will notice a bolt (13mm again) but to remove it you first need to take out the pin that prevents it from spinning. Do so by putting in a nail from the other side and hitting with a hammer:
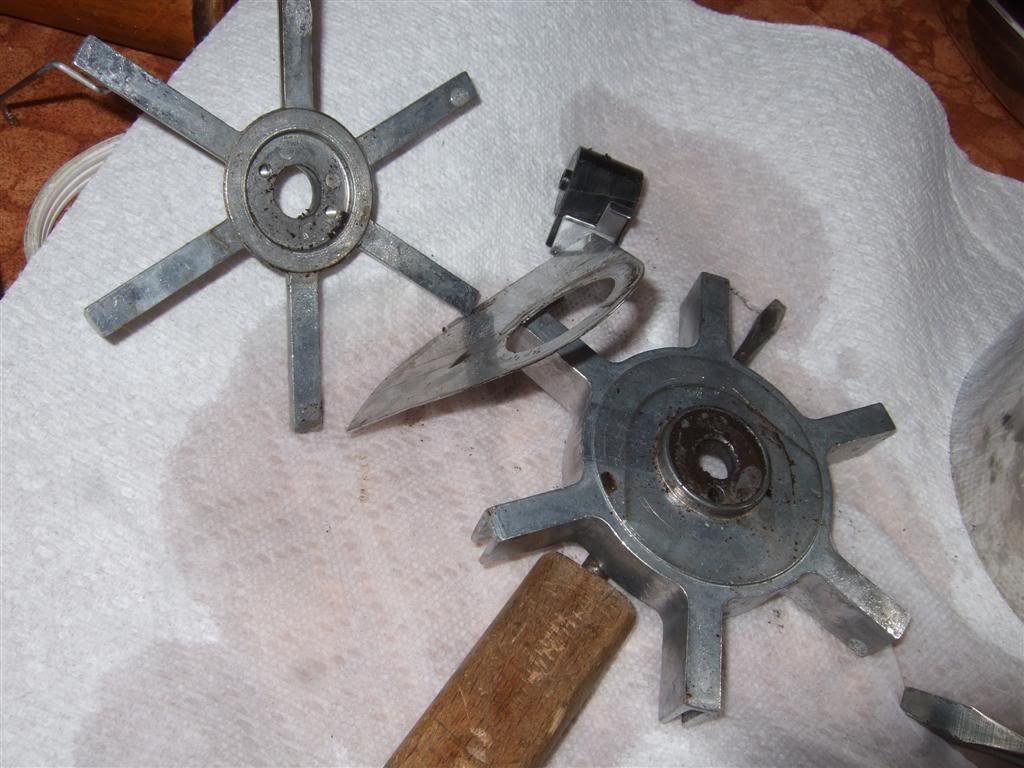
DO NOT DO THIS! THE DOSER VANES WILL BREAK!

DO NOT DO THIS! THE DOSER VANES WILL BREAK!
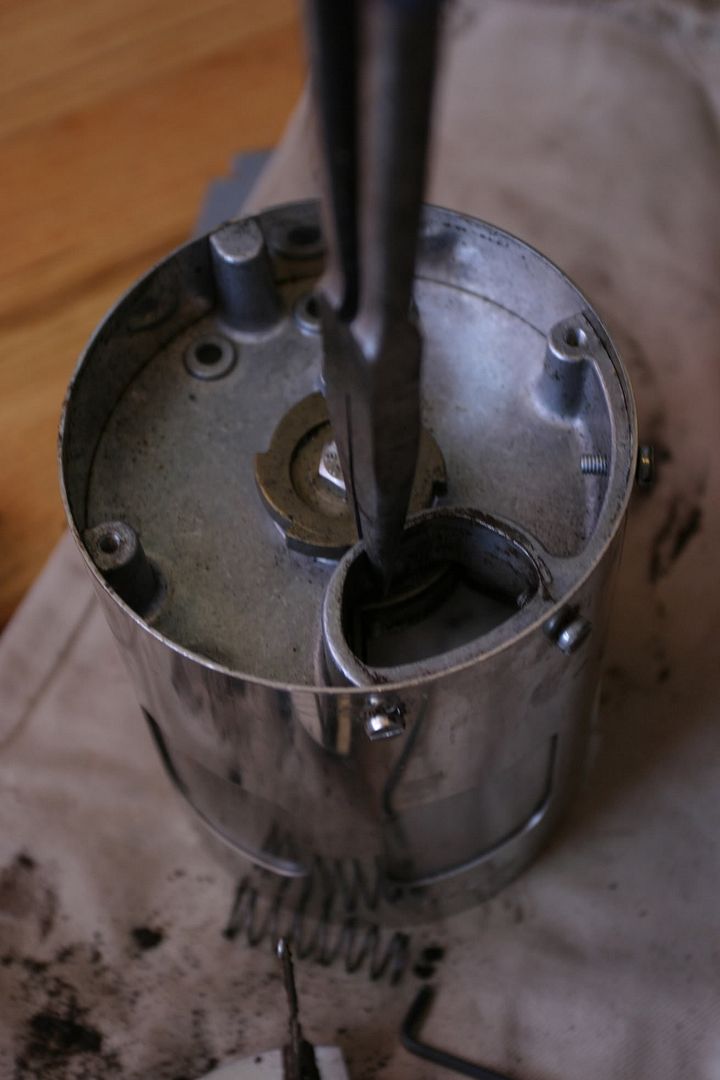
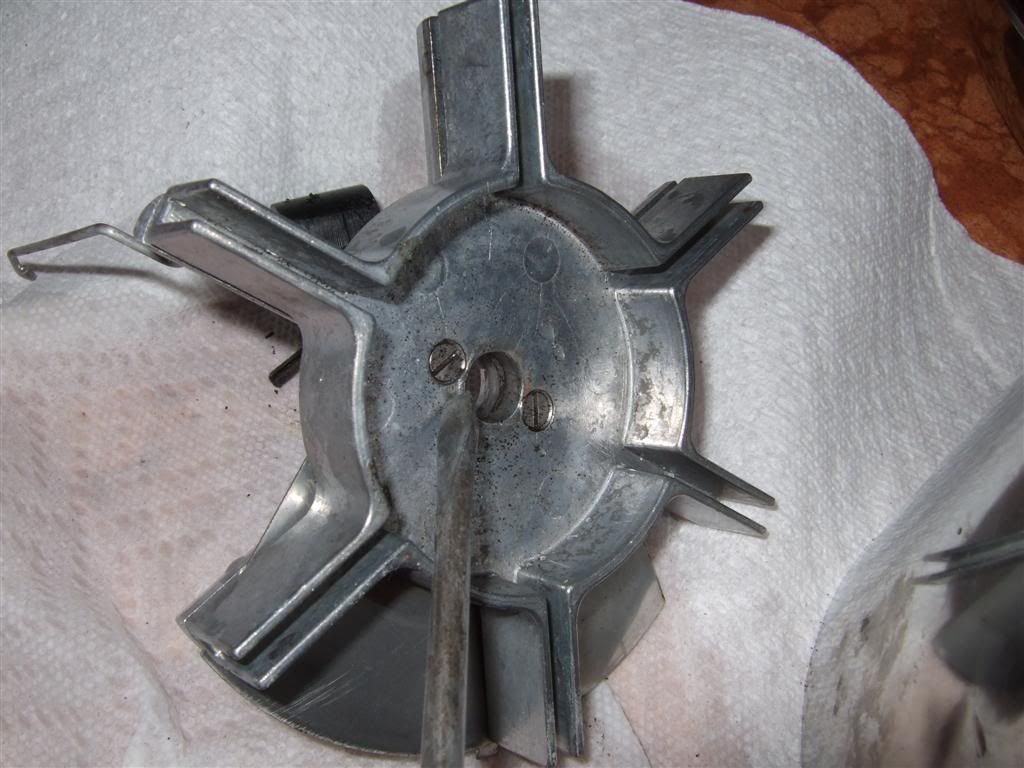
Instead use this method:
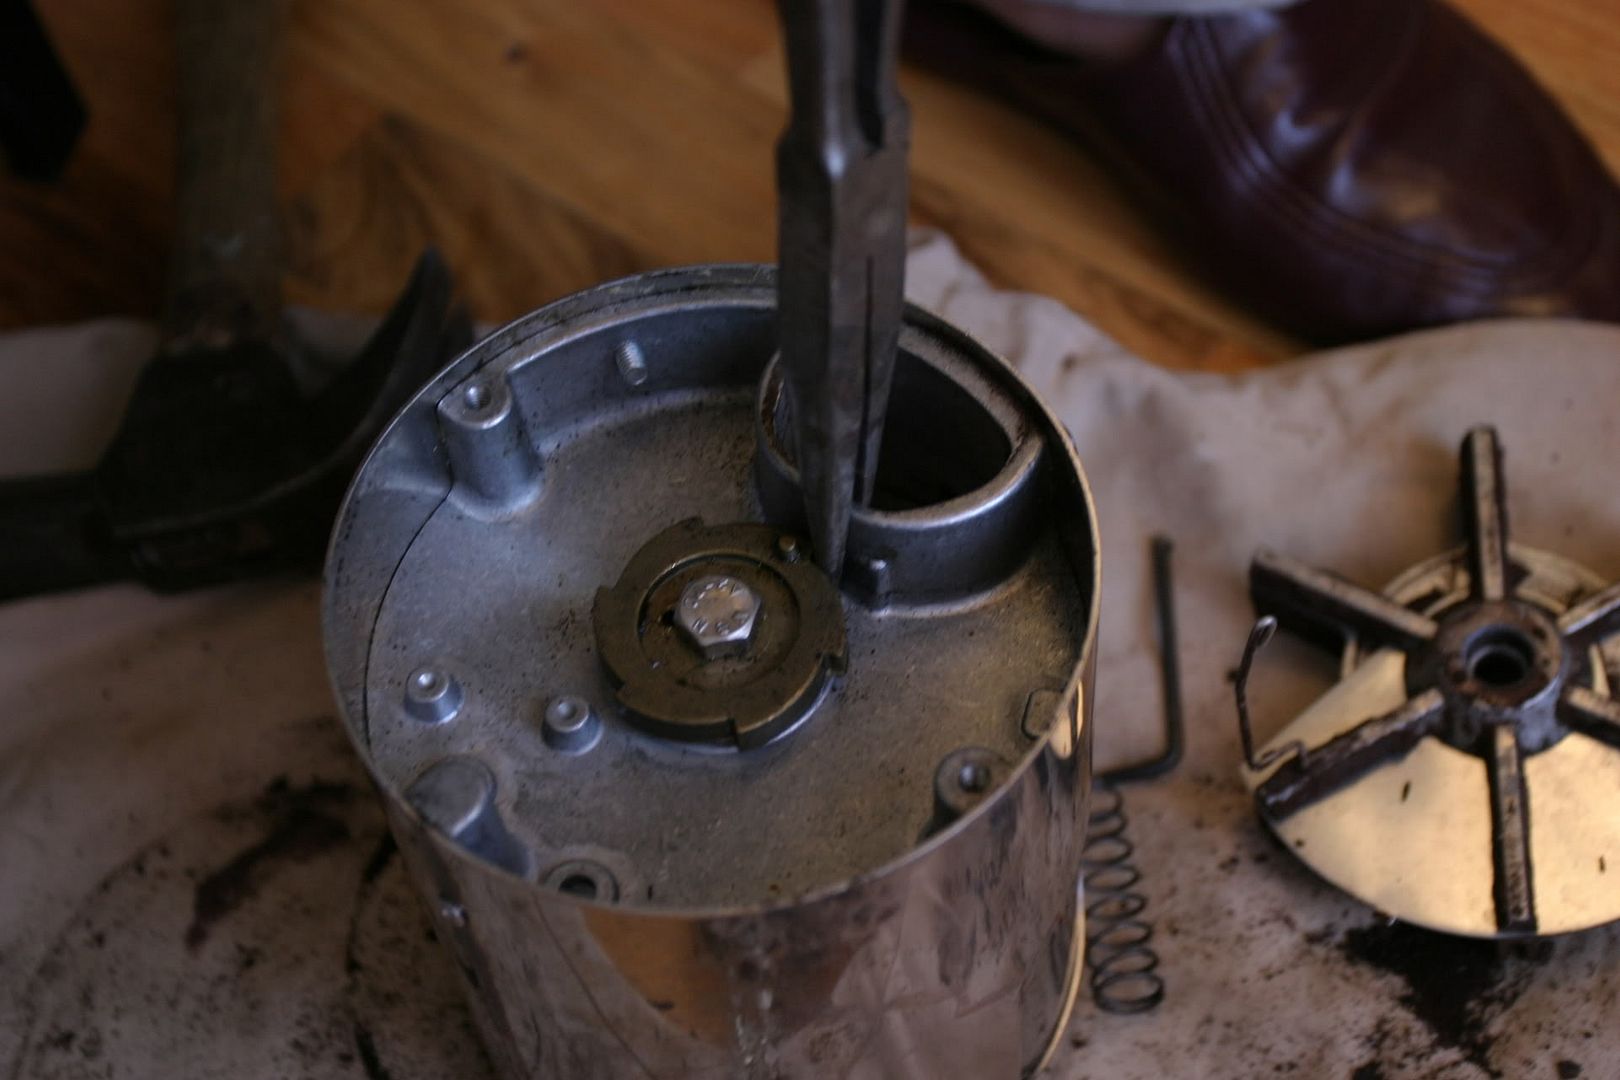
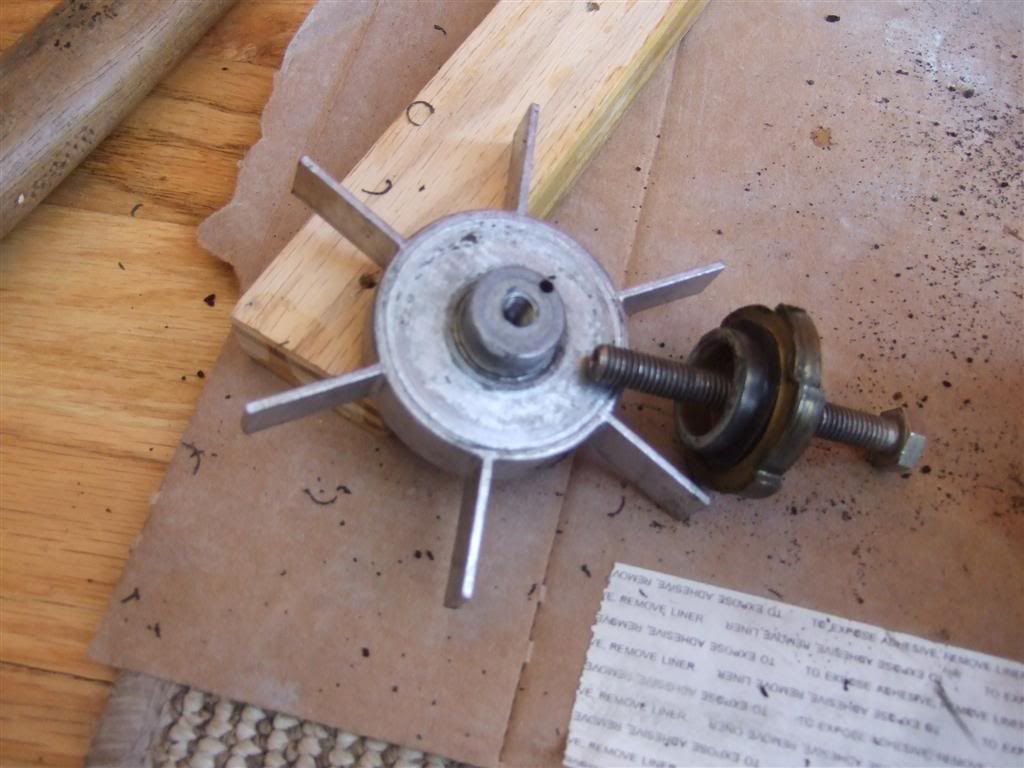
After that all comes out it looks like this:
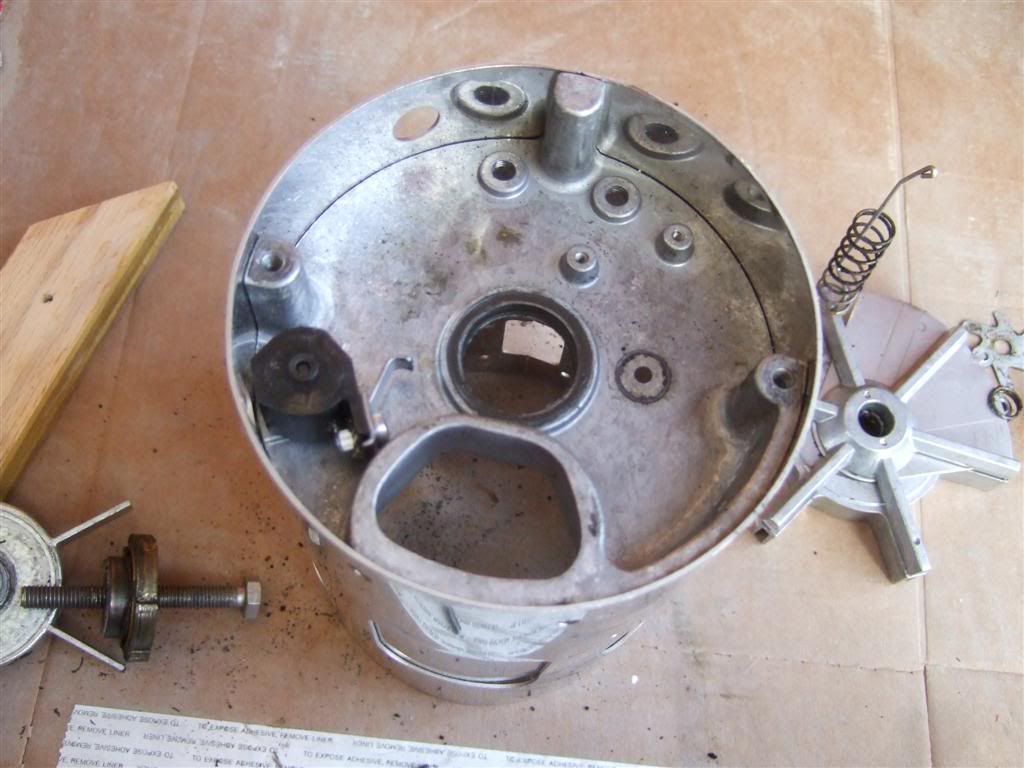
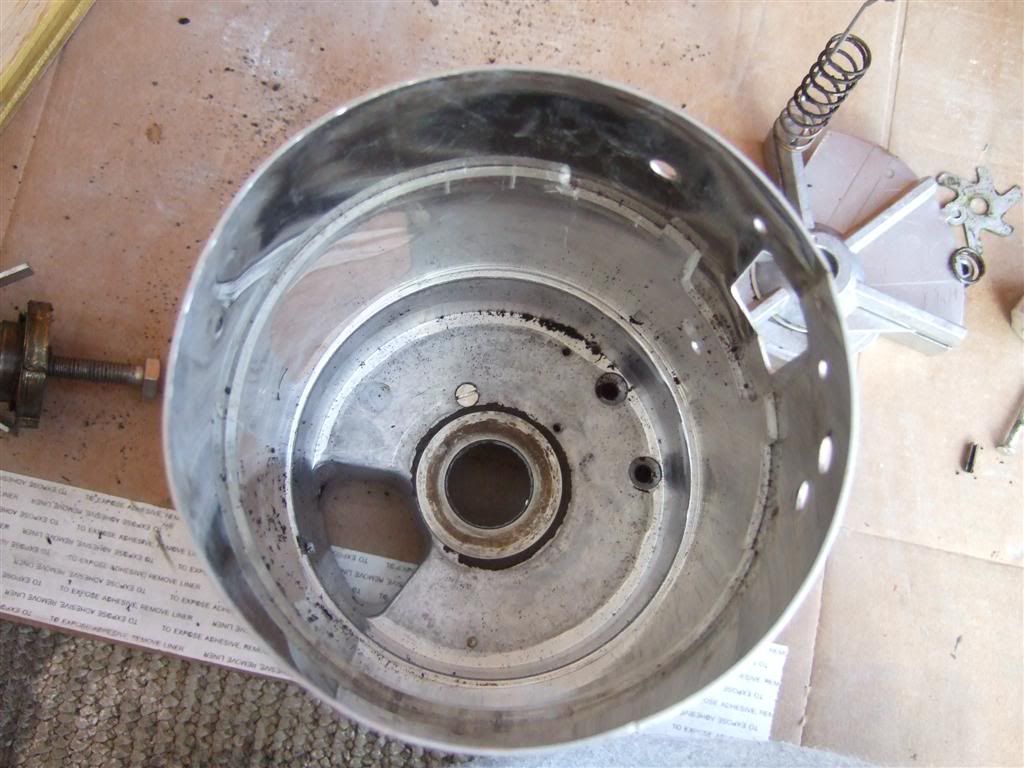
And the inside:
The counter can be removed by prying up with a flathead screwdriver but you need to be careful not the break it.
The inner sweeper can also be seperated. Just remove the two flathead screws:
And lastly remove the finger guard (plexi glass window thing) just by pulling up with your fingers:
Now that your doser is completely apart (and the rest of your grinder body pieces) go clean them thoroughly! Some people recommend sticking the doser body (all electronics removed!) into the dishwasher.
Some items will need to be sanded to remove the years of grime that has built up. Soaking metal pieces in carfiza (espresso cleaning detergent) helps to break up the greases and oils that accumulated but be careful to not use too much (some say it can eat away metal).